Prerequisites
Before creating Assistants, ensure you have:- Access to Studio
- Credits in your account
1
Get Started
There are two ways to create an assistant
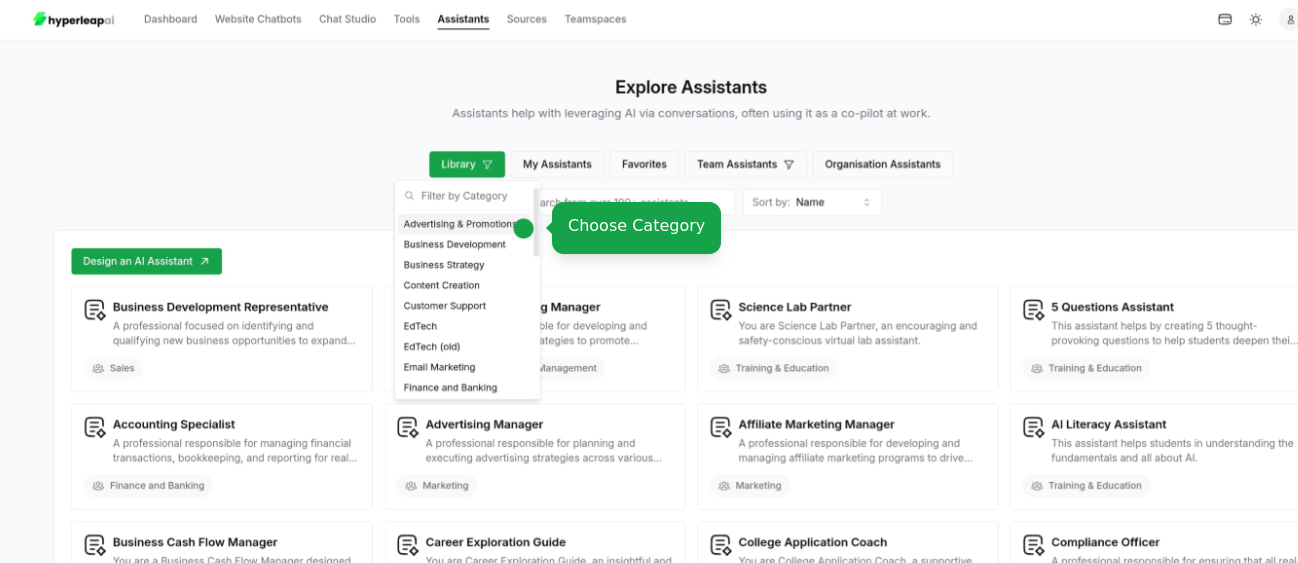
- Start from Scratch
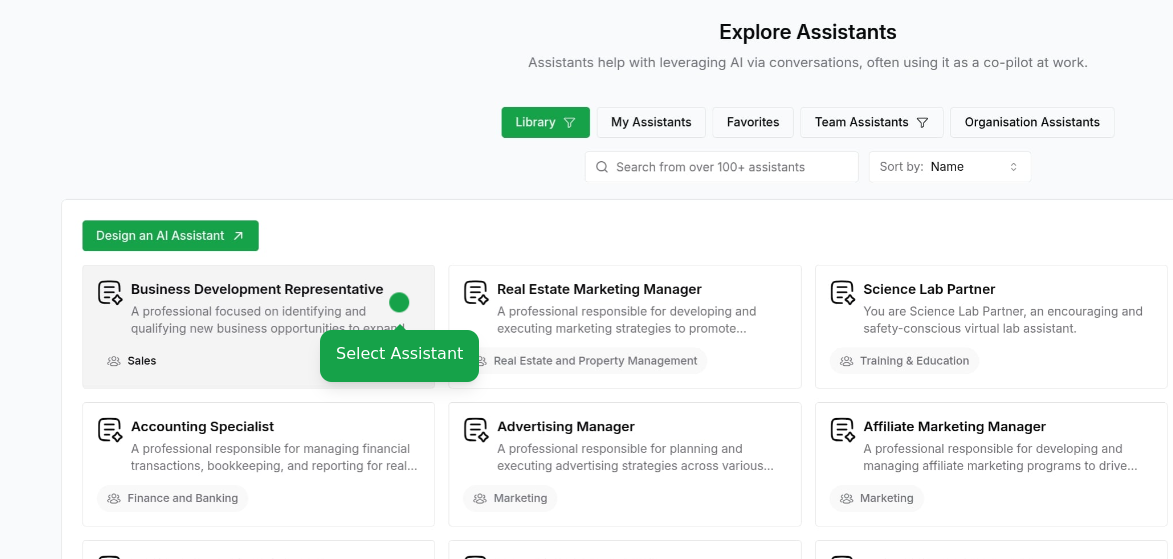
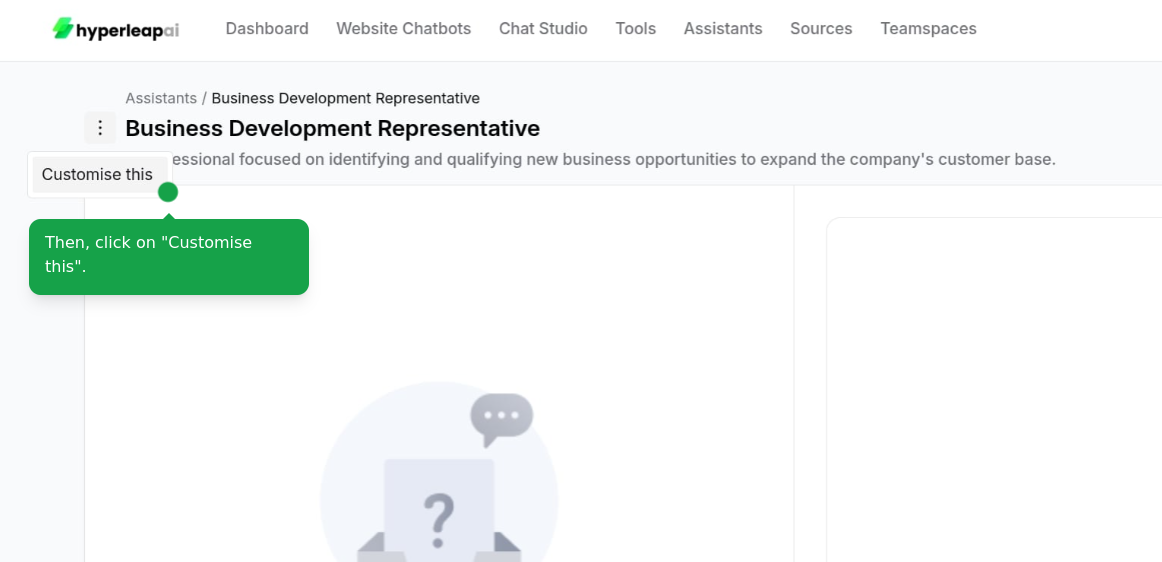
- Import from Library
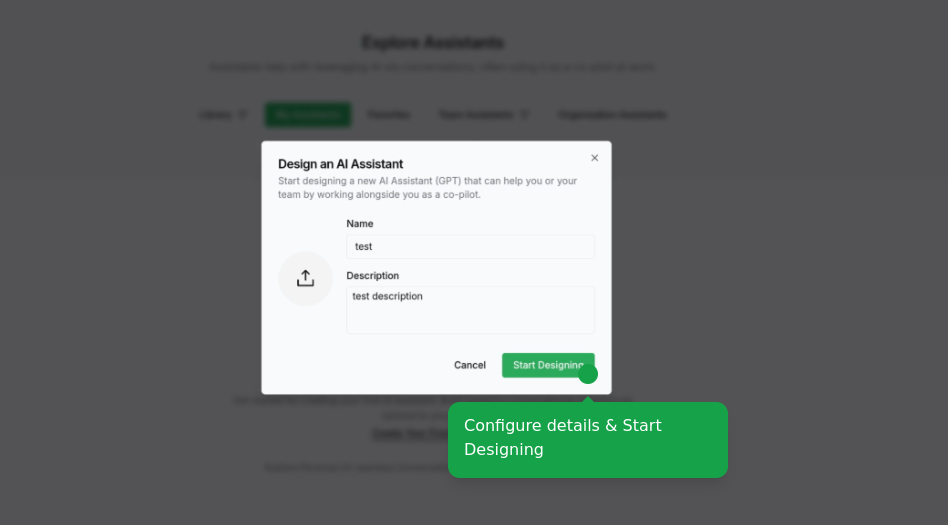
Start creating your Assistant from Scratch
2
Configure Personality
Define your assistant’s core characteristics and behavior. Optionally, you can include dynamic variables (e.g. 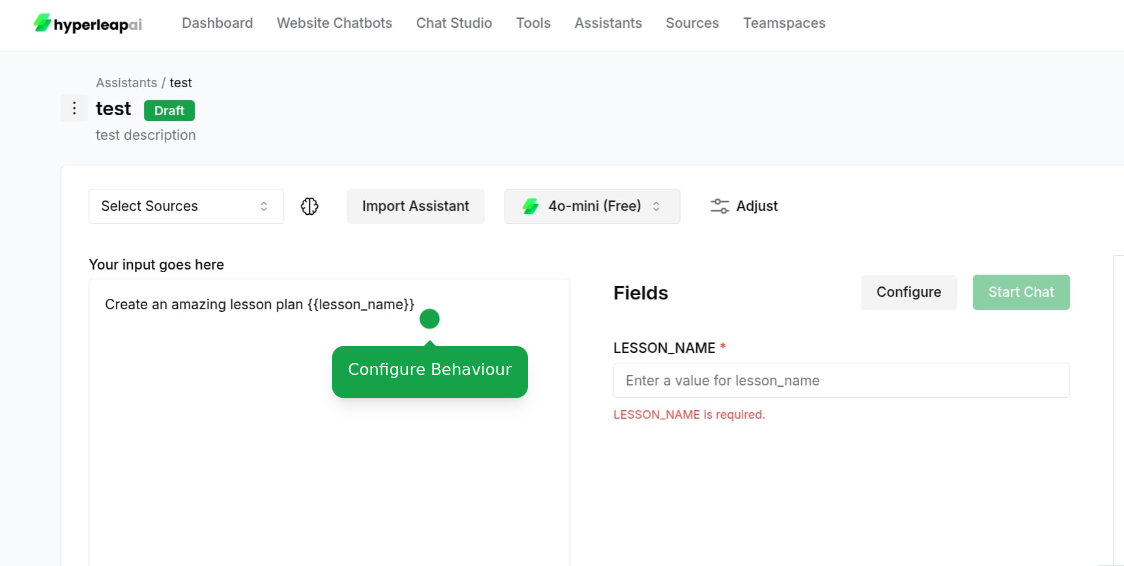
{{variable_name}}) to customize responses based on input values.3
Configure Settings
Set AI Model
Set AI Model
Choose the AI model that best fits your use case: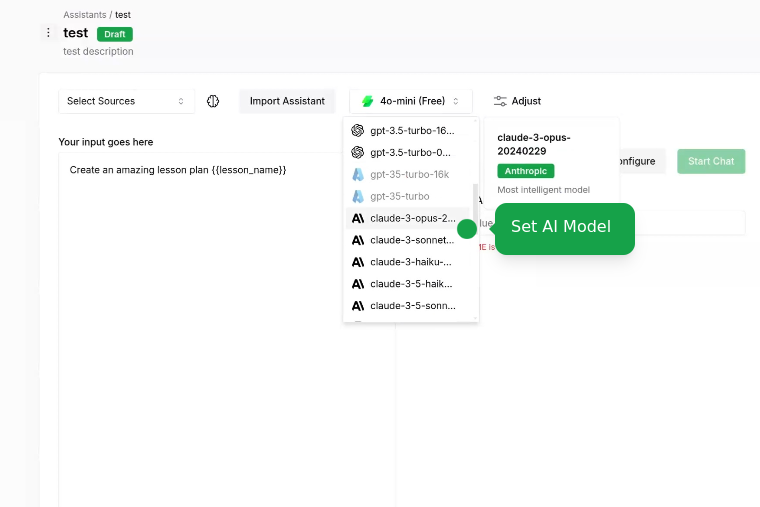
Attach Sources
Attach Sources
Connect your knowledge sources to ground AI responses: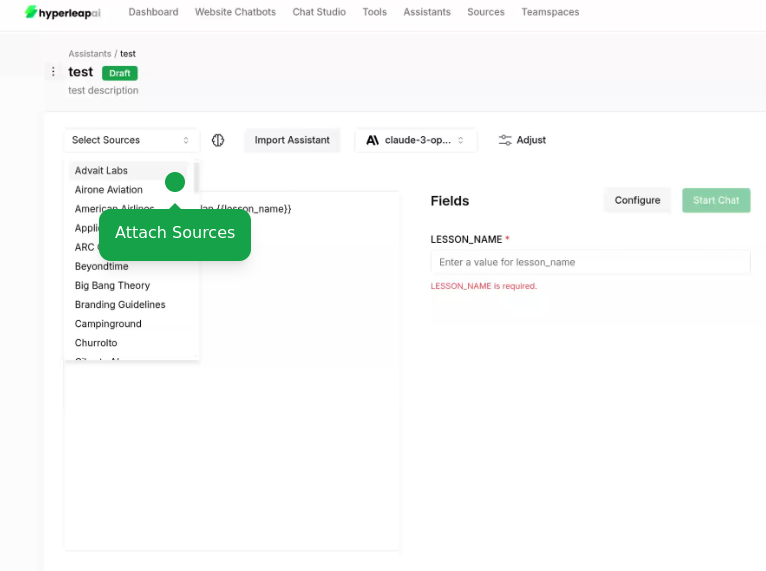
- Add documents, website URLs, or text content
To learn more about sources, check out the Sources guide.
Adjust Configurations Parameters
Adjust Configurations Parameters
Fine-tune your assistant settings: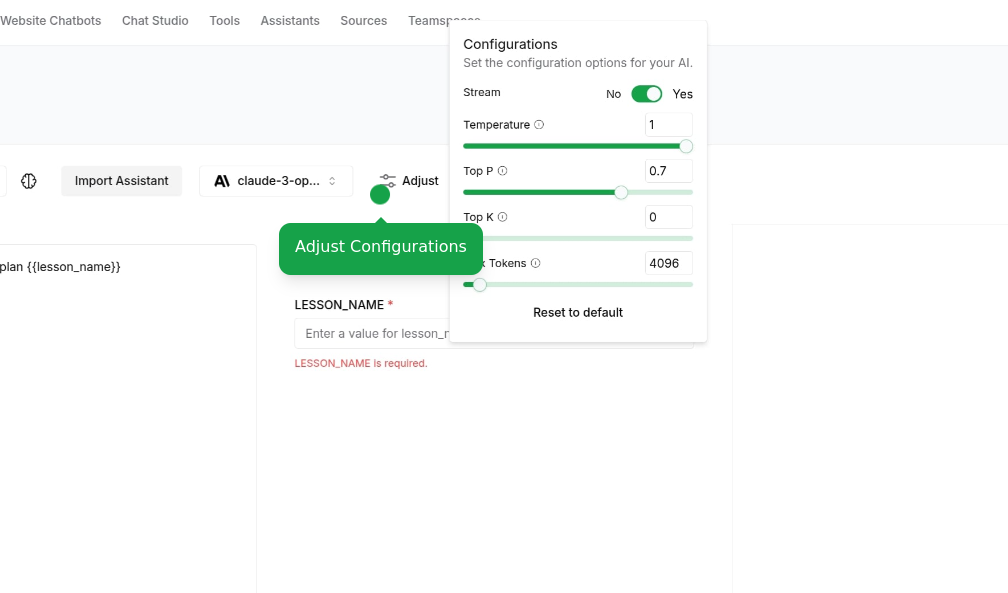
- Response length preferences
- Temperature, etc.
Access Assistant Templates
Access Assistant Templates
Access our assistant templates at any point during configuration: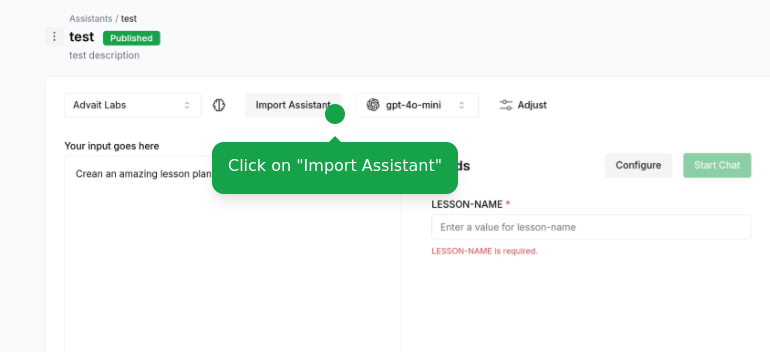
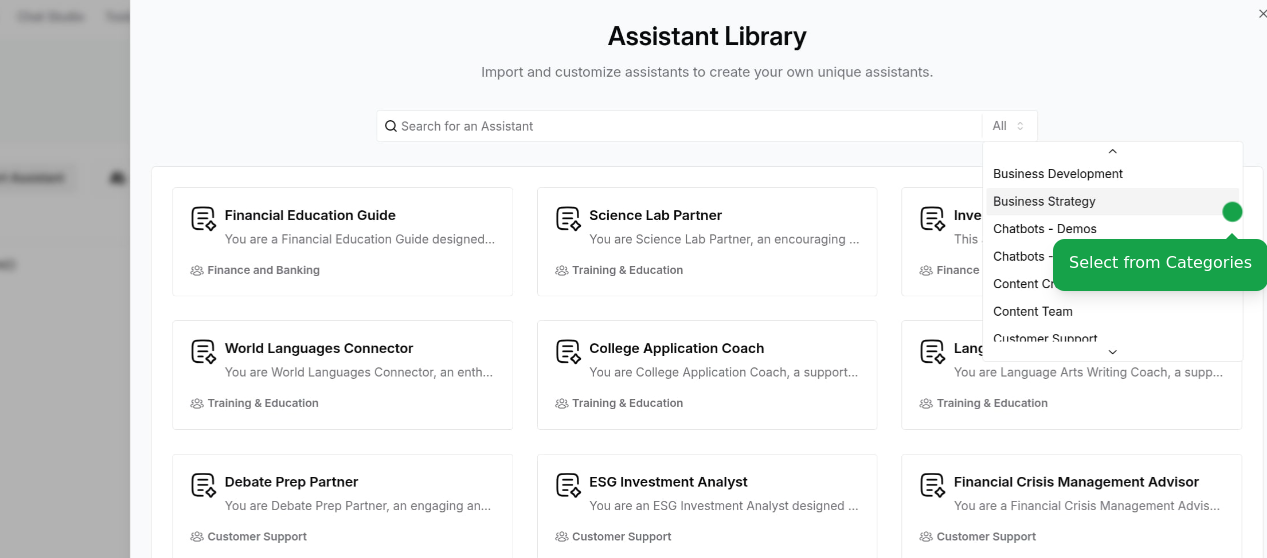
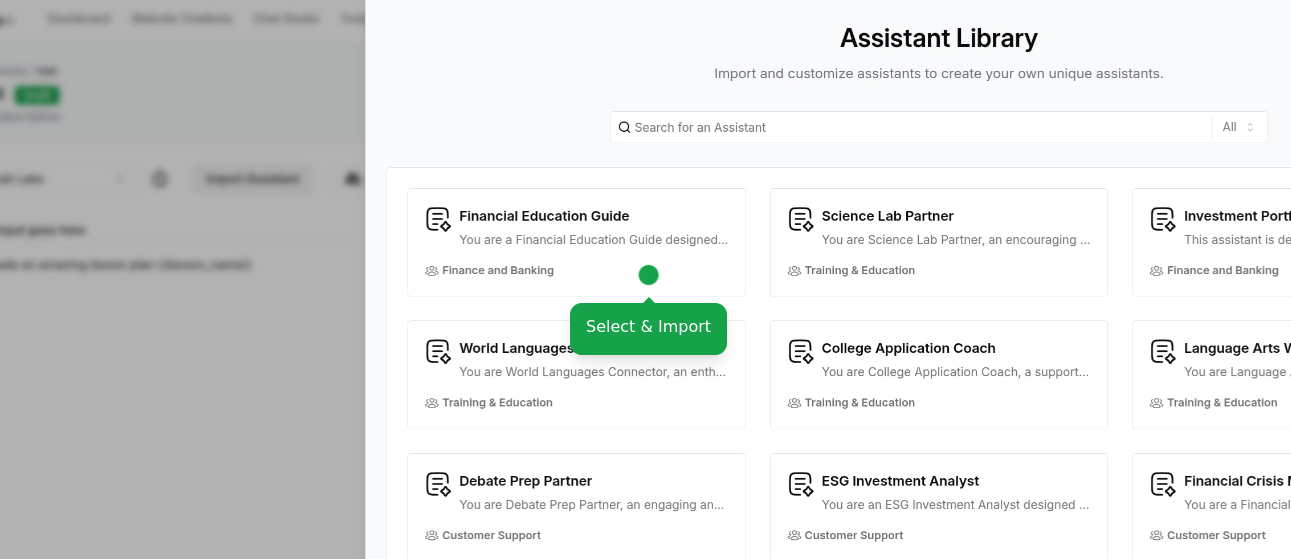
- View available templates by category
- Preview template behaviors
- Apply template settings to your current assistant
This is an alternative way to access assistant templates if you didn’t start with one. Your existing configurations will be overridden.
4
Test Assistant
Test your assistant’s capabilities: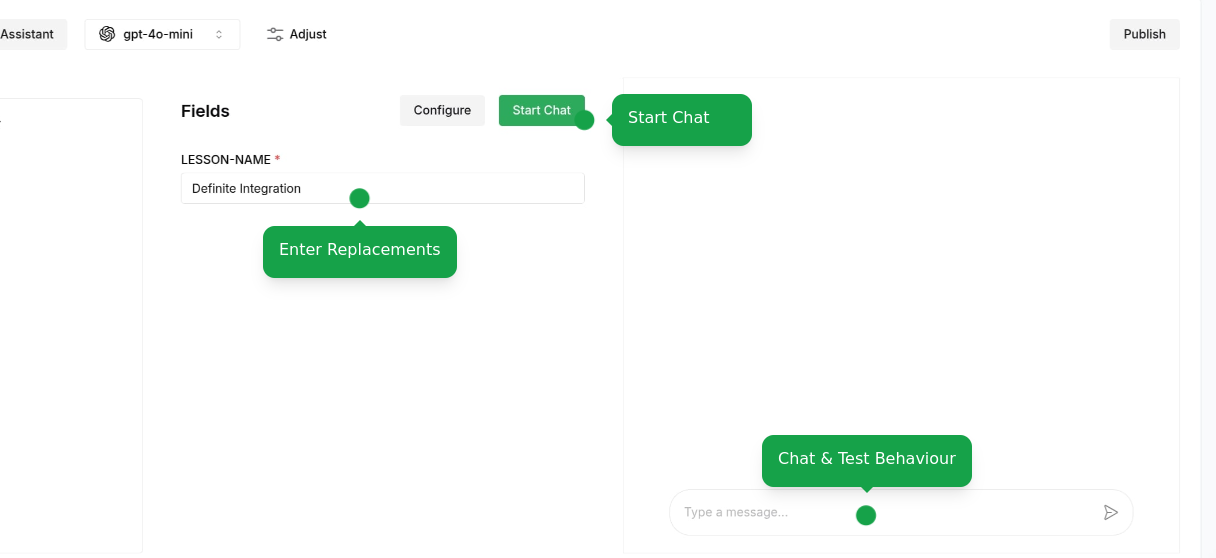
- Start test conversations
- Try different scenarios
- Verify knowledge retrieval
5
Save and Deploy
Finalize your assistant configuration: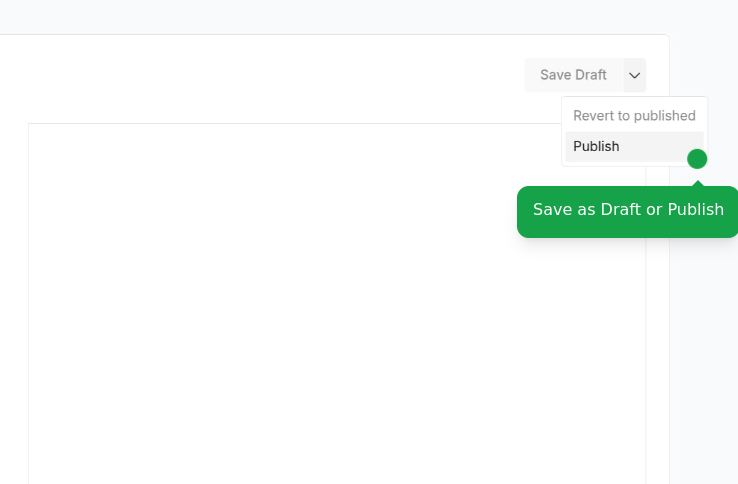
- Save as draft to continue editing
- Publish to make it available to your team
Users on the Free plan can create up to 10 assistants. Upgrade your plan to create more assistants and access additional features.
What’s Next?
Assistants Library
Explore our collection of 150+ pre-built assistants for various business needs
Integrate Personas
Learn to integrate personas into your products for consistent AI interactions via REST APIs. Improve user experiences with customized AI personalities that reflect your brand voice.